Thursday 10 December 2015
Editing process
Editing Process
What software do we intend to use for our music video?
We used Final Cut pro to edit our clips to create our music video as we had previous experience of using this editing program and we we find it better to edit on Final Cut pro then any other editing software.
What will this editing software enable us to do?
This editing software will enable us to put together all our clips to create a smooth and professional looking music video like the ones you can find on Vevo. This software will also enable us to link out audio with our clips to make it look like its part of the same thing.
We overlapped clips and found the best timings in accordance to the music we were using, cutting parts we didn't need. We had over 3 hours of footage, which we cut down to 3 minutes.
What is the likely time scale of the editing process?
Our editing process took us 5 weeks, due to us having to go out and film more footage as we lacked a bit of clips and found out that we needed more footage. This was the main reason for the delay in editing and why it took so long.
Monday 7 December 2015
Magazine Advert Plan
The Aim:
Our music promotional magazine advertisement will need to capture the message of the song, in this case 'All to You'. It will need to appeal specifically to our target audience - young adults - 20-30 years of age - who may be able to relate to the song because of their youthful experiences of love, or their current relationship or mission in finding love.
Image Choice:
We plan to look at some images we have taken of the singer/actor on his own, particularly where he is looking directly into the camera, as this directs his gaze solely on the audience.
We will also take into consideration the background features of the images we have taken, for example the park and naturalistic environment.
Design:
Also we need to ensure that the layout/design of the magazine advert is consistent with the layout/design used in the digipak. This will include the image, the text and its font/colour.
Text:
The font of the text will need to resemble that which is included on the digipak, to enhance the continuity and consistency of the design.
The name of the artist will need to be positioned in the centre of the frame above the name of the song/album, in this case 'All to You'.
Other text content which could be included are quote's from acclaimed album critics, and the web address so people can access the artist's personal website.
Other Requirements:
We will need to include relevant institutional information on the advert which is consistent with that which is contained on the digipak. This will include the logo of the recording label and production company.
A barcode will not be necessary for a magazine advert but will be for the digipak for commercial purposes.
Social networking symbols such as Facebook, Twitter, YouTube, Google+ and Instagram could also be included on the advert as a means of communicating with the fan base.
How will we set out about producing an effective magazine advertisement?
We will look at previous A-Level work from other students who have produced magazine adverts to promote their song, and take notice of the attributes of their designs. The above examples scored highly.
PRODUCTION: Filming (Day 3)
Night Filming
Location: National Rail replacement bus
We began filming at around 4:30/5 in Whitton
Location: Twickenham
Location: National Rail replacement bus
We began filming at around 4:30/5 in Whitton
Location: Twickenham
Thursday 3 December 2015
PRODUCTION: Filming (Day 2: London)
On our second day of film we too the streets of central London to film our actor. We began filming at around 10:00 after picking up equipment and taking the train to Piccadilly Circus.
Location: Trafalgar Square
Location: Piccadilly Circus
Location: Trafalgar Square
These shots were taken by myself outside the National Art Gallery in Trafalgar square, overlooking Nelson's Column. I decided to use this location for close ups, as well as over the shoulder shots, mid-shots in addition to low angle shots to improve the range of shots and angles in our music video. We positioned the actor to stand still and overlook Trafalgar square as it was far more visually interesting to have a blue sky, Nelson's Column and the fountains rather than have him face the Art Gallery building, and it gave the appearance of the character in deep thought.
Location: Piccadilly Circus
In Piccadilly circus we filmed the electronic billboards on one camera for 10 minutes to be used later in a time lapse. This was useful as it established the location to evidently be in central London. On a second camera we filmed the tracking shots, exploring the city.
Wednesday 2 December 2015
PRODUCTION: Filming (Day 1: Richmond)
Range of cameras/ lenses
 |
| 1 |
 |
| 2 |
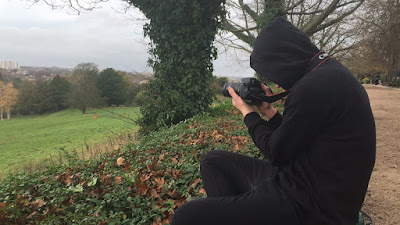
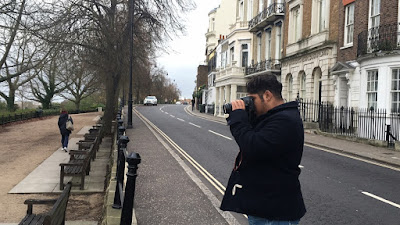
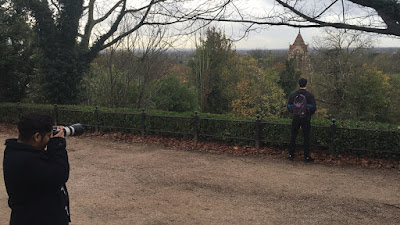
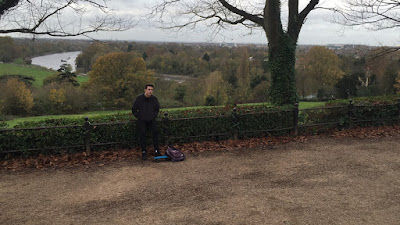
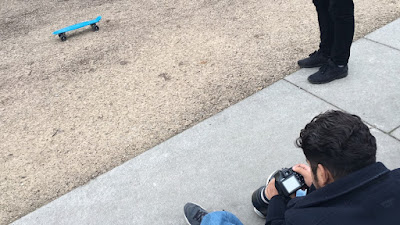
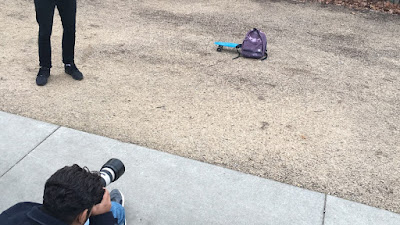
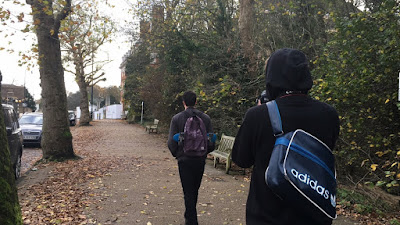
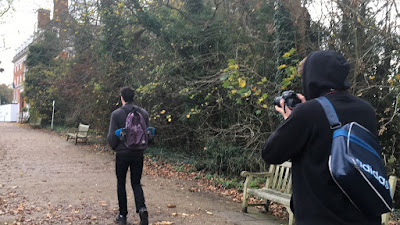
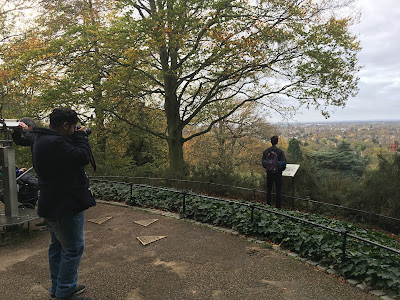
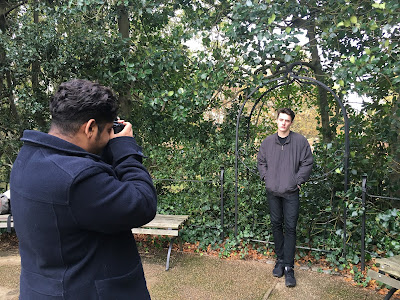
One camera filming our model (during filming), a second camera filmed the time lapses in 2 different areas of richmond to film movement of things like clouds and trees for 20 minutes, then the third camera was used of take stills of the model to be used for our print products. this was an effective system when filming as it made sure that when it came to editing all of our footage and stills were not mixed together, making the editing process far more efficient. Stacio (group member) proved to be a crucial part of the group on the day, providing the third camera, a range of lenses to use, e.g. ones that were better for close ups, distance shots and stills, and he also provided a knowledge base on which lenses to use as he is a photography student.
Stills for Print Products
 |
| 3 |
 |
| 4 |
Stills for inside covers
 |
| 5 |
 |
| 6 |
Actual filming - Movement
 |
| 7 |
 |
| 8 |
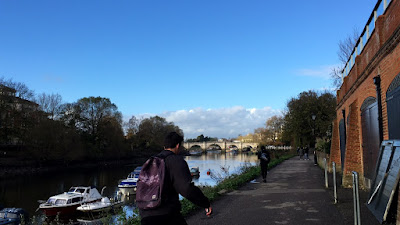
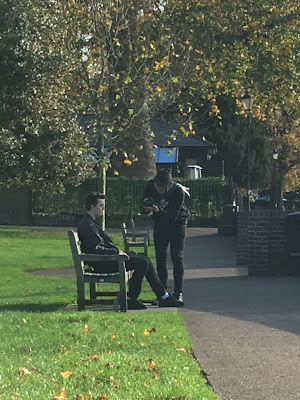
Range of locations
 |
| 9 |
 |
| 10 |
 |
| 11 |
 |
| 12 |
By 1:30 the sun had finally come out after a grey morning with a bit of rain. This provided far more natural lighting which was convenient when filming close-ups (as shown in image 12)
Subscribe to:
Posts (Atom)


